Bonding with Sprayable Contact Adhesive
It's All About the Criss-Cross
If you want a quick and reliable way to bond flexible surfaces, such as RollMokutan, RollRost or RollBeton, on moulded parts, it is advisable to use sprayable contact adhesive in a mobile tank. This way, round objects, bar counters or pillars become a special design element. In the following, we will show you what to consider.
In our example assignment, a RollMokutan surface is to be applied onto an undulated wood element. We recommend the use of REDOCOL sprayable contact adhesive in a tank. An important product advantage of the portable container is that you can spray directly at site, without needing a compressed air supply. The contact adhesive based on SBR+, a high quality rubber, can simply be applied with a spray gun, since the tank is pressurised. It is a quick-drying product with rapid strength build-up. The fact that it does not contain any methylene chloride as a solvent is an effective contribution to health protection. The glued workpiece will be heat-resistant up to +90° C.
1. Material Preparation
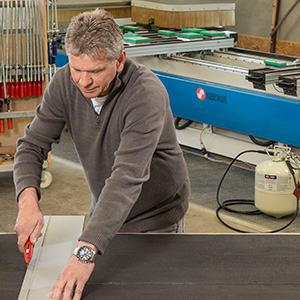
Simply use a carpet knife to cut the surface. The latter should always be larger than the substrate panel, as no further adjustments can be made once the materials are bonded. It is essential that all materials are acclimatised. Therefore, you should never store sprayable contact adhesive on a cold concrete or tiled floor.
2. Adhesive Preparation
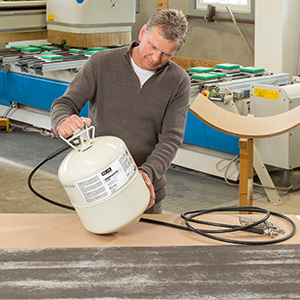
Before you apply any adhesive, you should blow off dust from the materials that are to be bonded. Now, the glue tank can be prepared. Hook up the hose and attach the spray gun. Note: shake the tank vigorously before use for at least 30 seconds to ensure flawless glue processing.
3. Test spray pattern
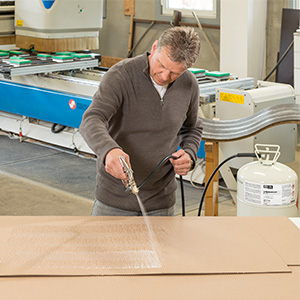
After having checked all connections, you should test the spray pattern. Is it the right stream width? A stream width of 20-30 cm is ideal. The spray gun should be held at a 20-30 cm distance to the material, as well.
4. Apply Adhesive in Criss-Cross Pattern
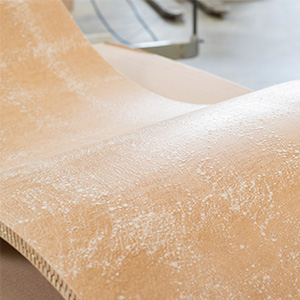
The adhesive is applied in a criss-cross pattern, i.e. evenly and slightly overlapping from left to right and then top to bottom. Glue coverage should be at least 80%. Note: both the substrate and the surface must be sprayed! Let the adhesive dry for 3-5 minutes after application.
5. Perform Finger Test
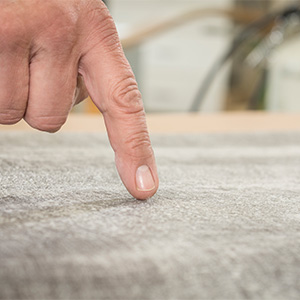
A finger test will show if the adhesive has dried long enough and if the materials can be bonded. When you put a finger onto the glued surface, no glue should stick to your finger. You can then place the surface on the moulded part.
6. Join Materials and Press them with a Roller
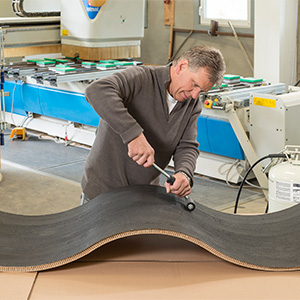
Contact adhesives are so-called pressure sensitive adhesives (PSAs). This means that pressure is always needed to achieve a bond. On round moulded parts this is best done by shortly, but firmly pressing the surface onto the substrate with a hand pressure roller. The adhesive will bond immediately. Careful post-pressing work possible.
7. Clean Spray Gun
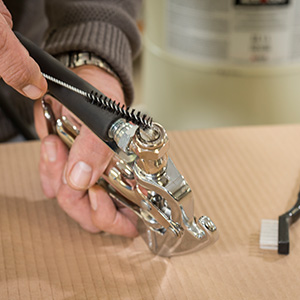
After use, the spray gun must be locked immediately via the quantity regulation screw. Then, clean the spray nozzle with a cleaning spray, such as the cleaner Frencken Remover 16 spray, and an appropriate cleaning brush for application nozzles. Note: once the valve on the glue tank is opened, it must not be closed again, otherwise the hose will clog.
 English